
Informasi Lelang
Fitur Terbaru di JBA, Kini Bisa Lacak Status BPKB Dengan Mudah
Find Your Dream Car in JBA Indonesia
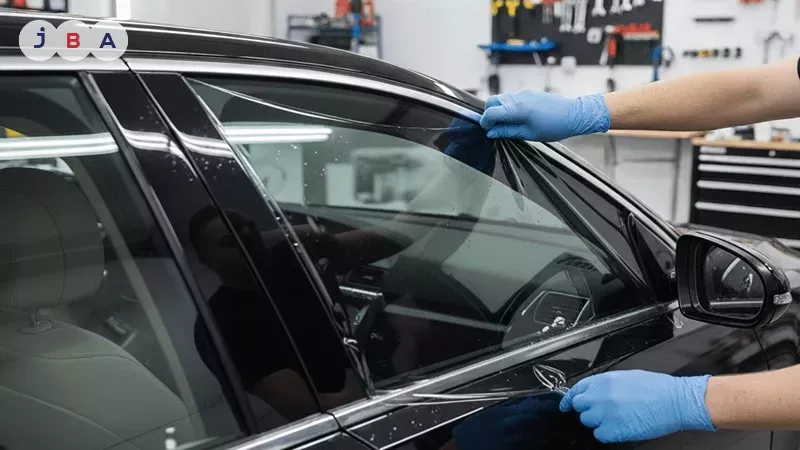
The process of installing car window film can be done at home as long as you follow the correct steps. Window film is a protective layer applied to car windows to improve comfort and safety while driving. Its functions are not only to reduce heat from the sun, but also to maintain privacy and protect the car’s interior from UV exposure that can damage colors and materials.
It’s important to know that installation results depend heavily on the quality of the workmanship. Besides choosing a high-quality window film, you must also install it correctly so the results are neat, smooth, and free of air bubbles. To find out what preparations and steps are required, here is the complete explanation for you.

Before learning how to install car window film, you need to know the tools required. Here are the essential items you must prepare:
Once you know the tools needed, follow these installation steps:
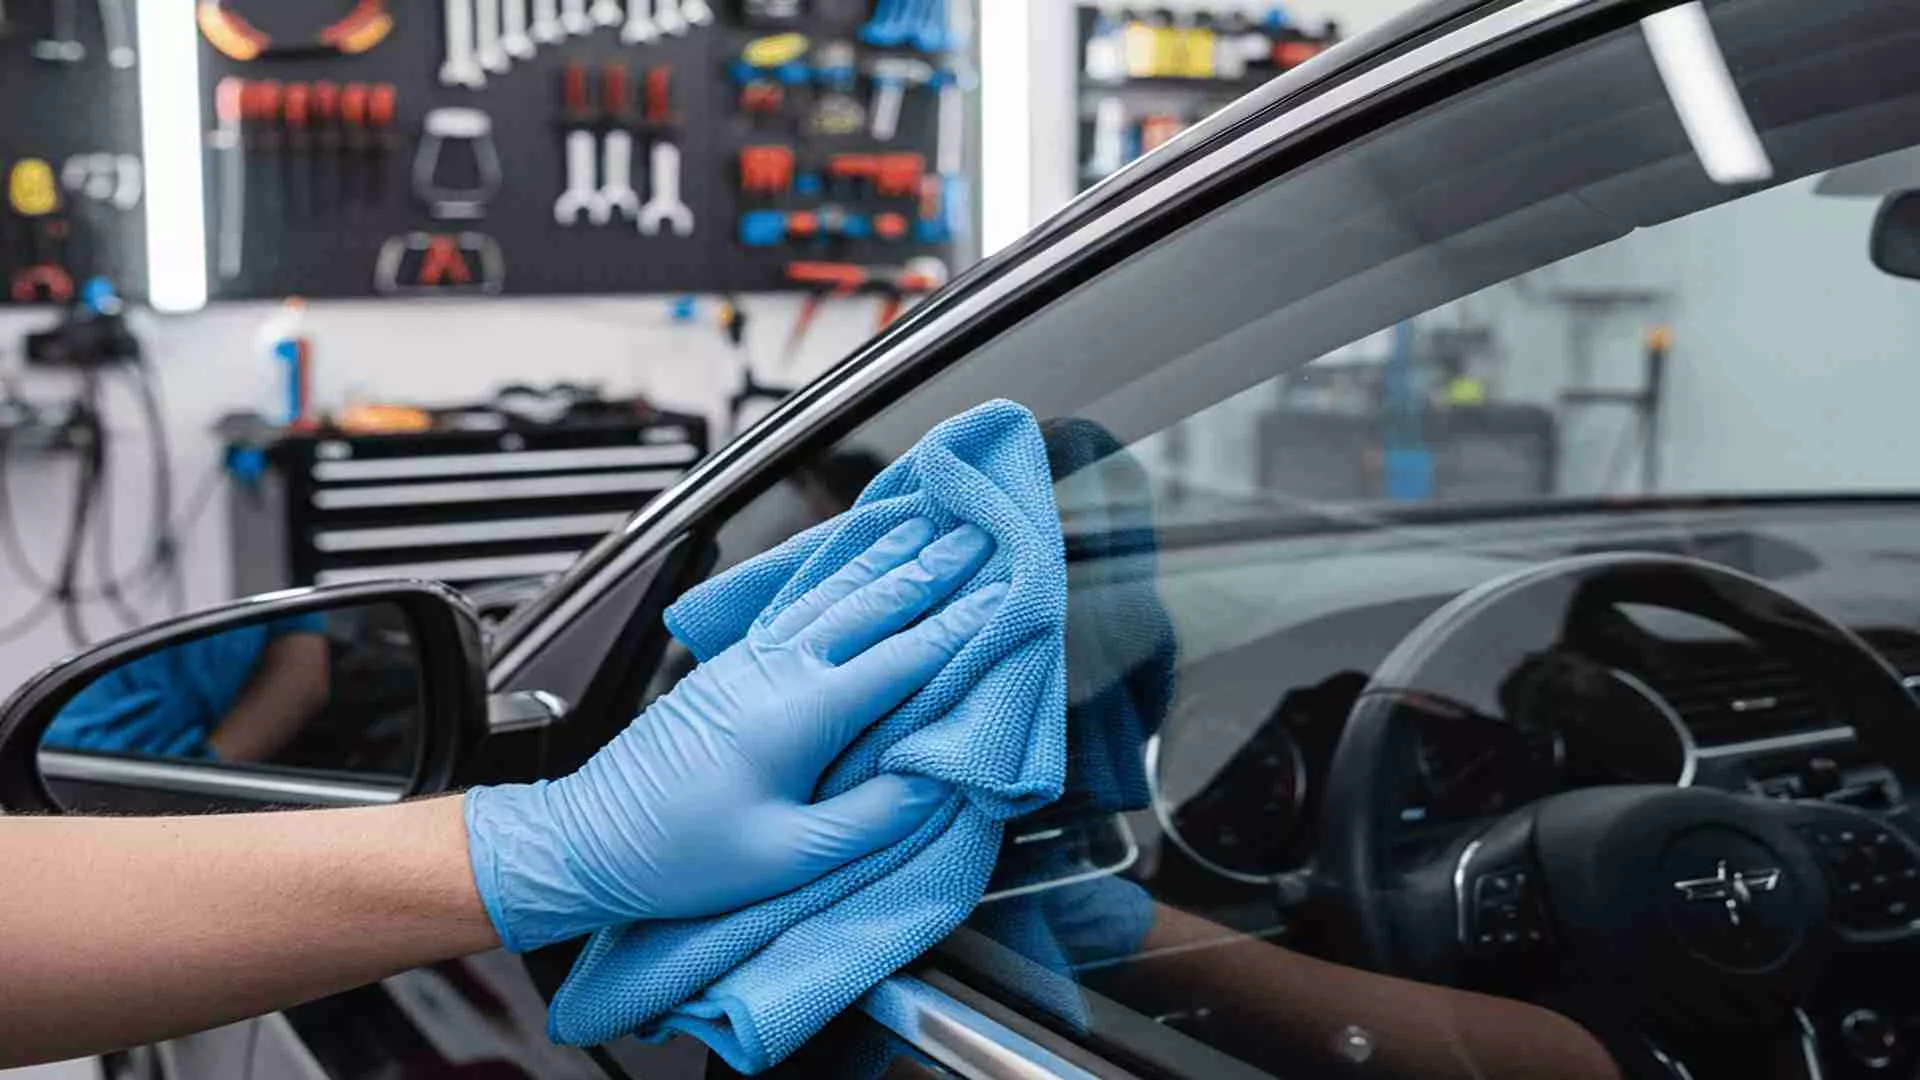
The first step in how to install car window film is preparing the glass. Make sure the car window is completely clean from dirt, dust, oil, and any stains. Even tiny particles can cause bubbles or prevent the film from adhering properly.
Clean the glass using soapy water and a microfiber cloth to ensure the surface is fully smooth. Perform this step in a closed room so dust from outside doesn’t blow back onto the glass.
After cleaning, measure the entire window surface to determine the correct film size. This initial cutting step helps with easier installation and ensures the film is not too big or too small. Measure carefully and cut the film slightly larger (around 1–2 cm) so it can be adjusted later during the final trimming stage.
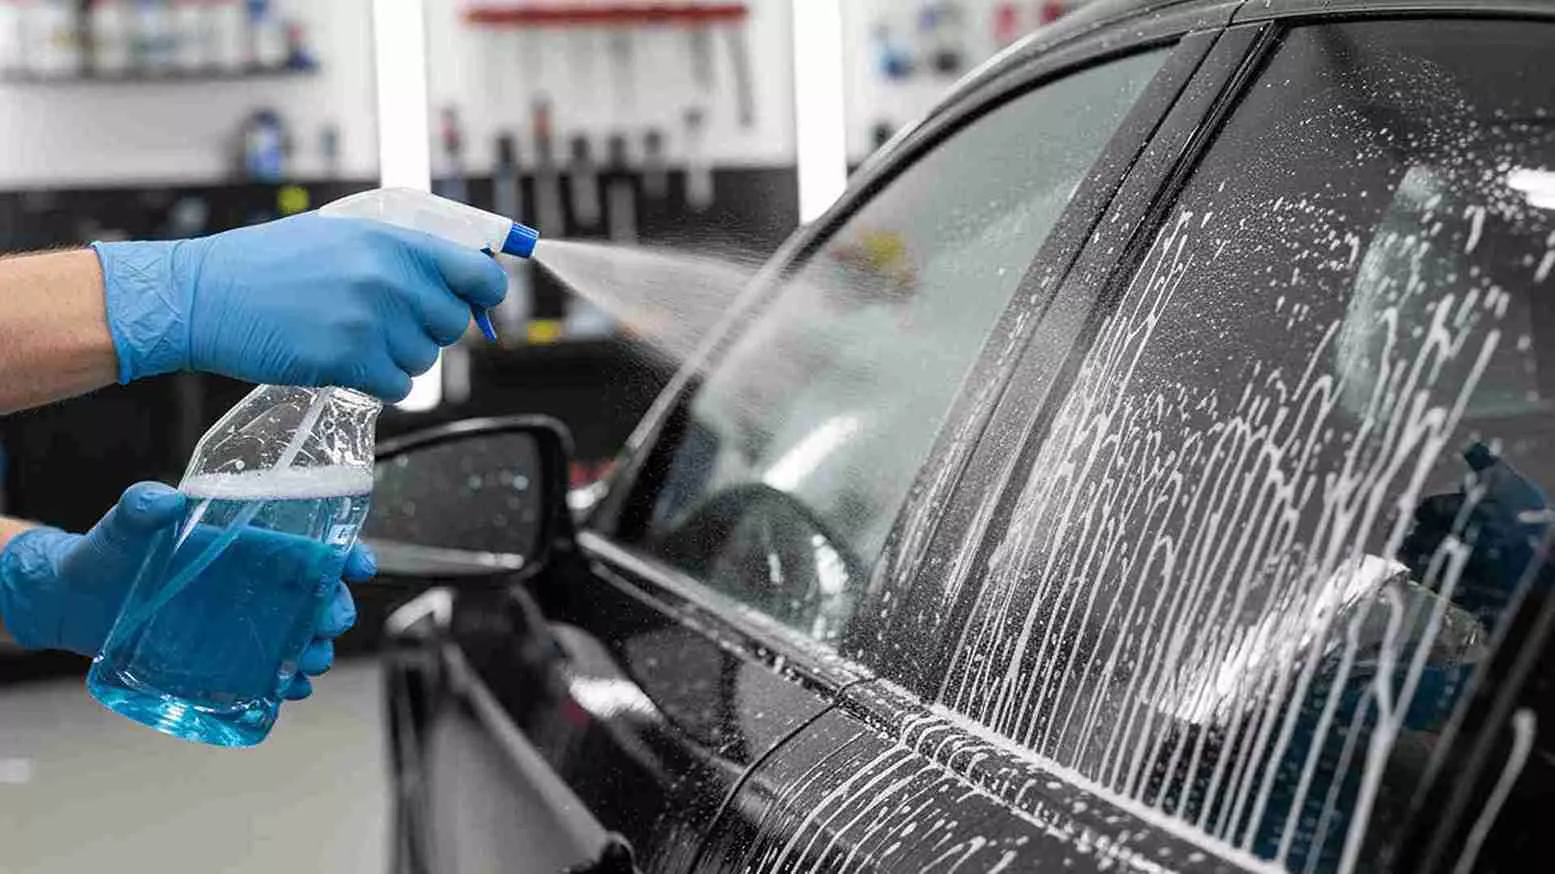
After the glass is clean, spray a mixture of water and a small amount of soap over the entire surface. The purpose of using soapy water is to:
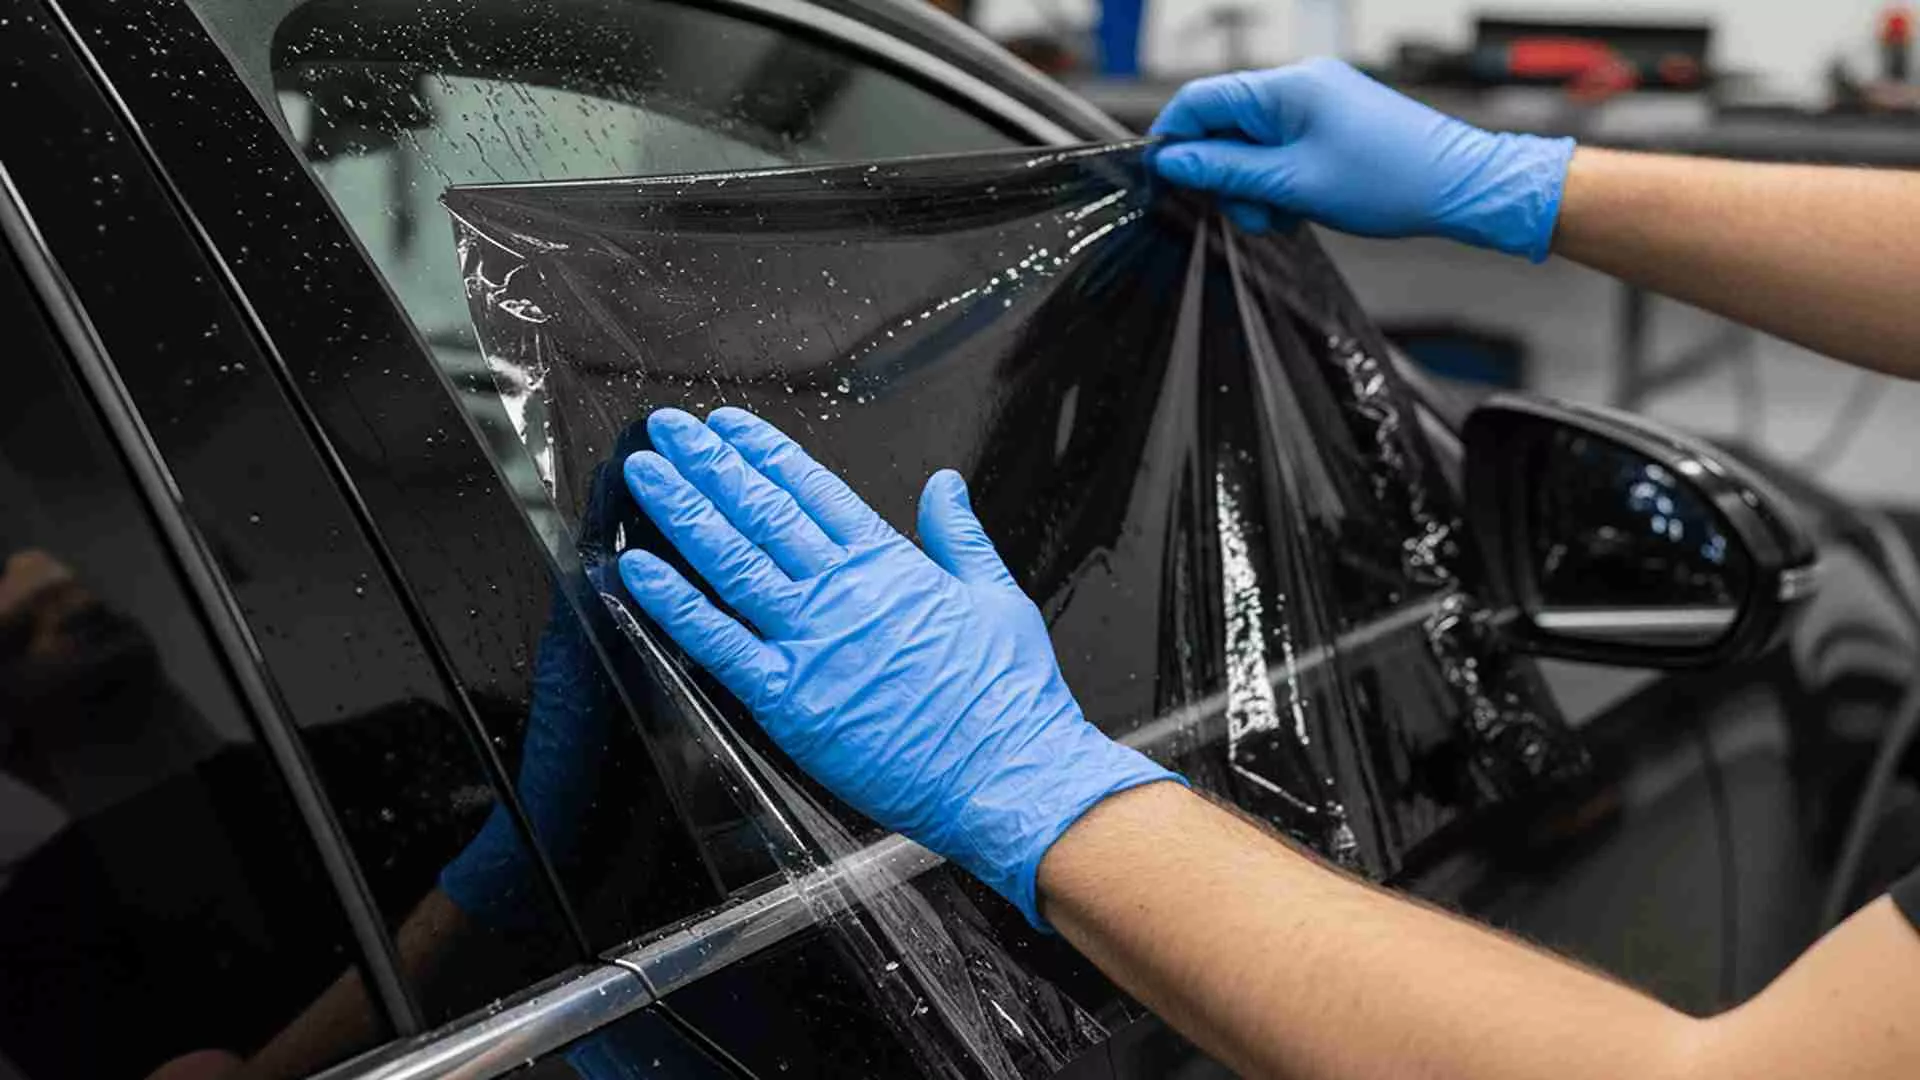
With the glass wet, place the window film carefully.
How to lift the film correctly:
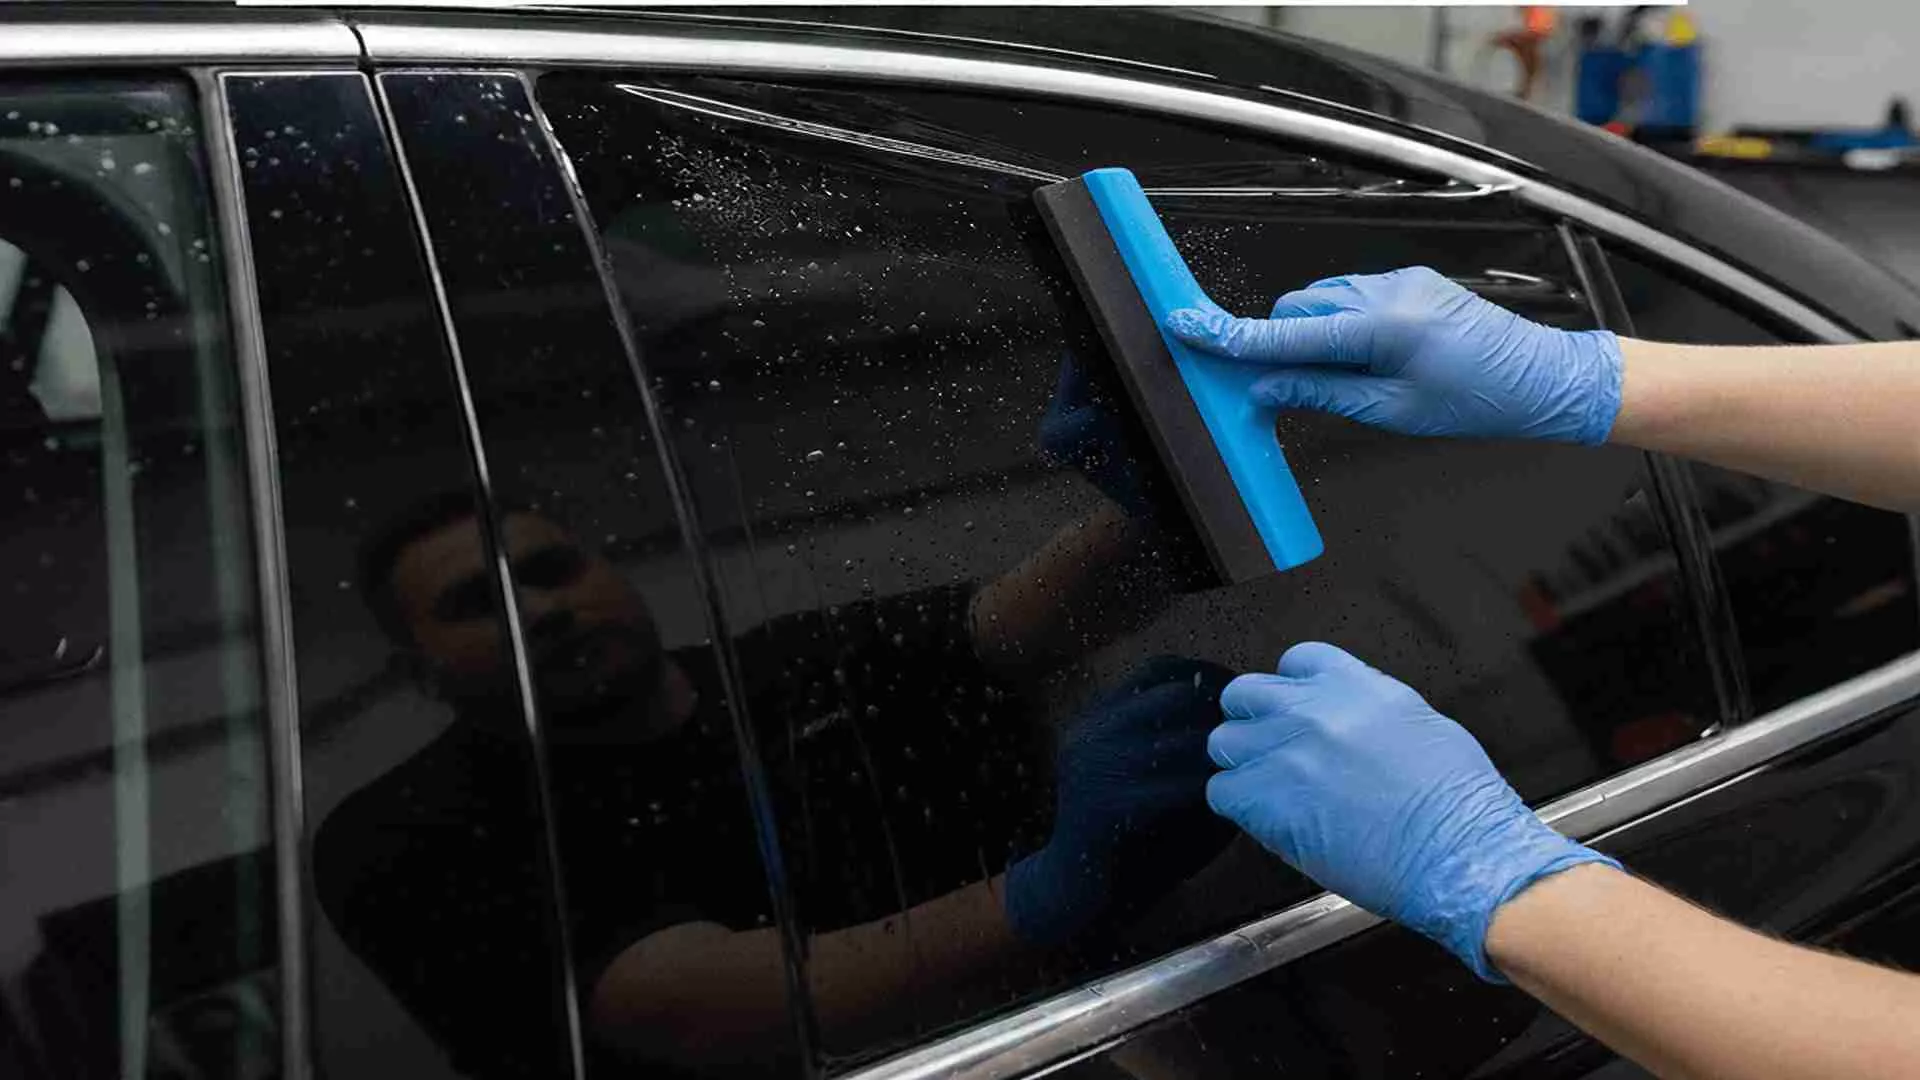
Once the film is in the correct position, use a squeegee to smooth it out.
Flattening technique:
How to remove bubbles and water:
This step largely determines the final result, so take your time.
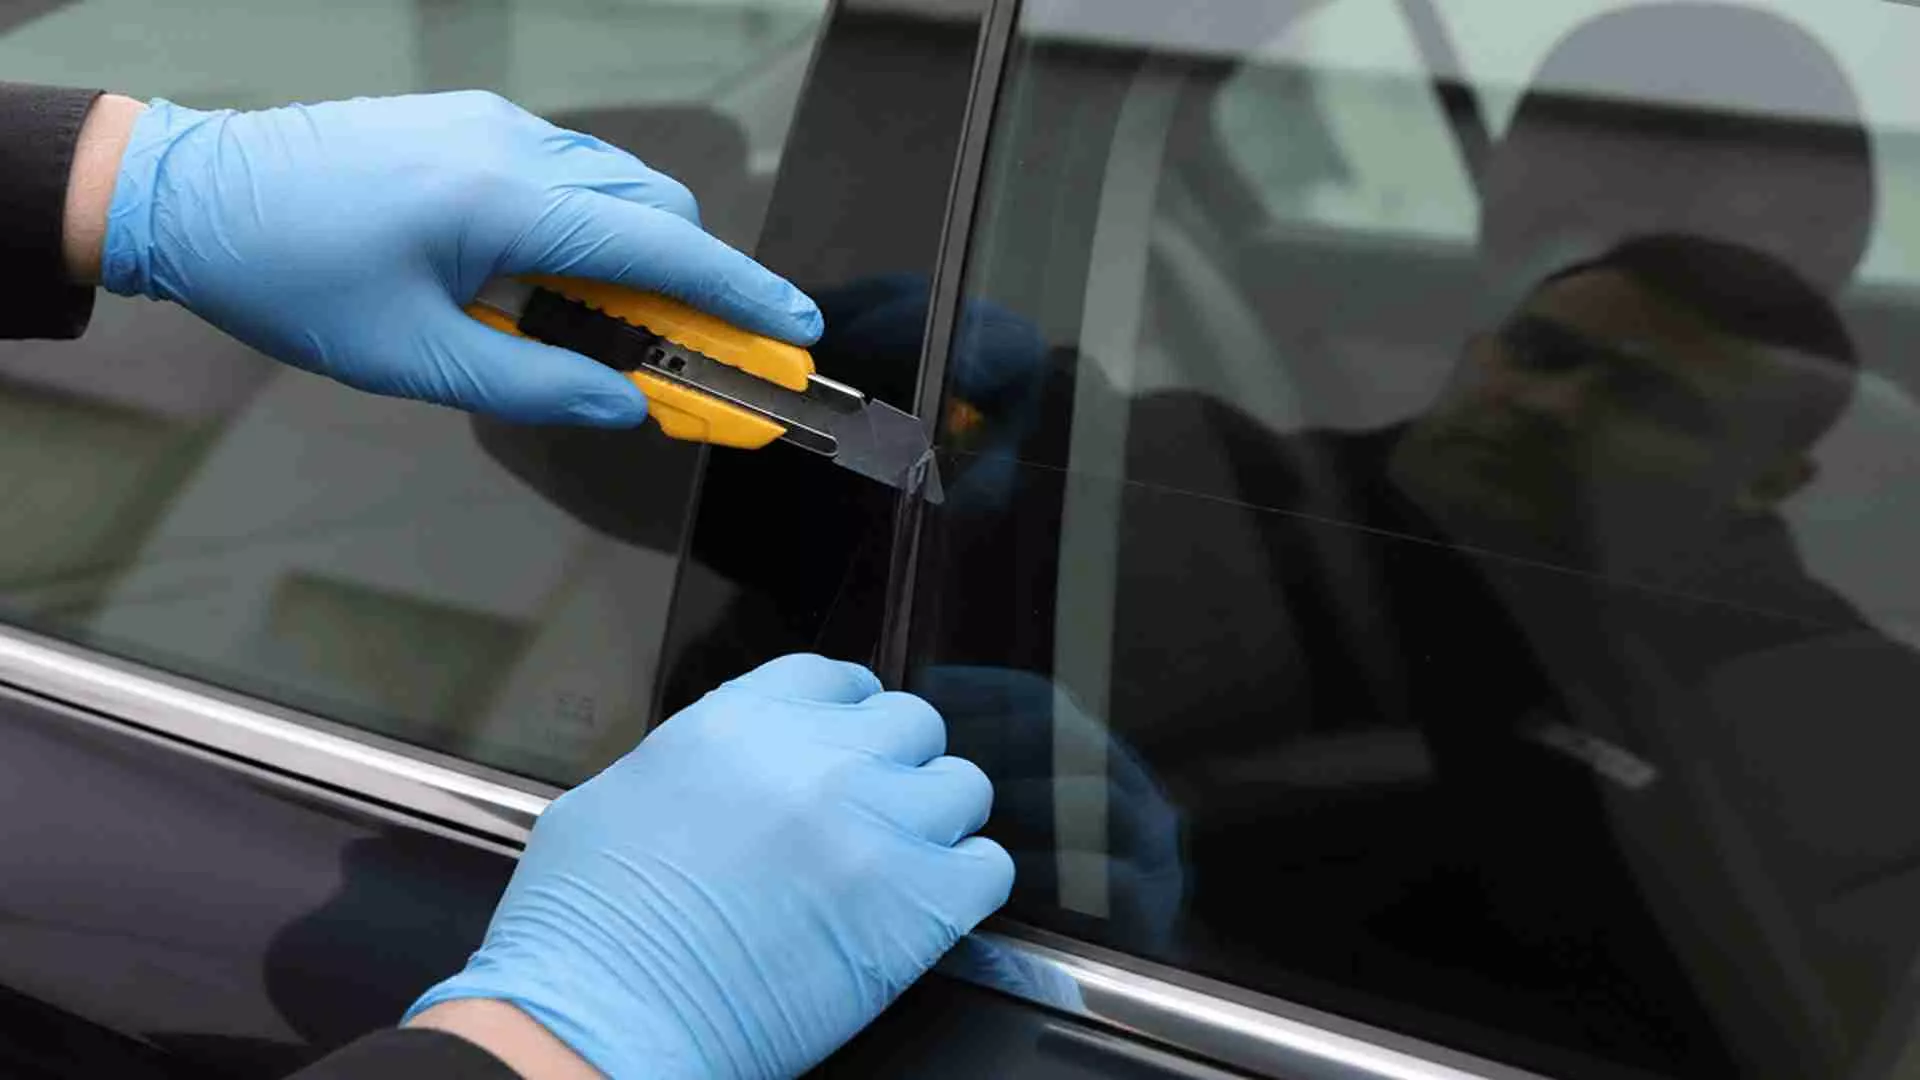
Once the film is evenly applied, trim any excess around the edges using a sharp cutter. Cut slowly following the shape of the window to prevent tearing. Ensure all edges are firmly attached with no gaps, as gaps can cause peeling later on.
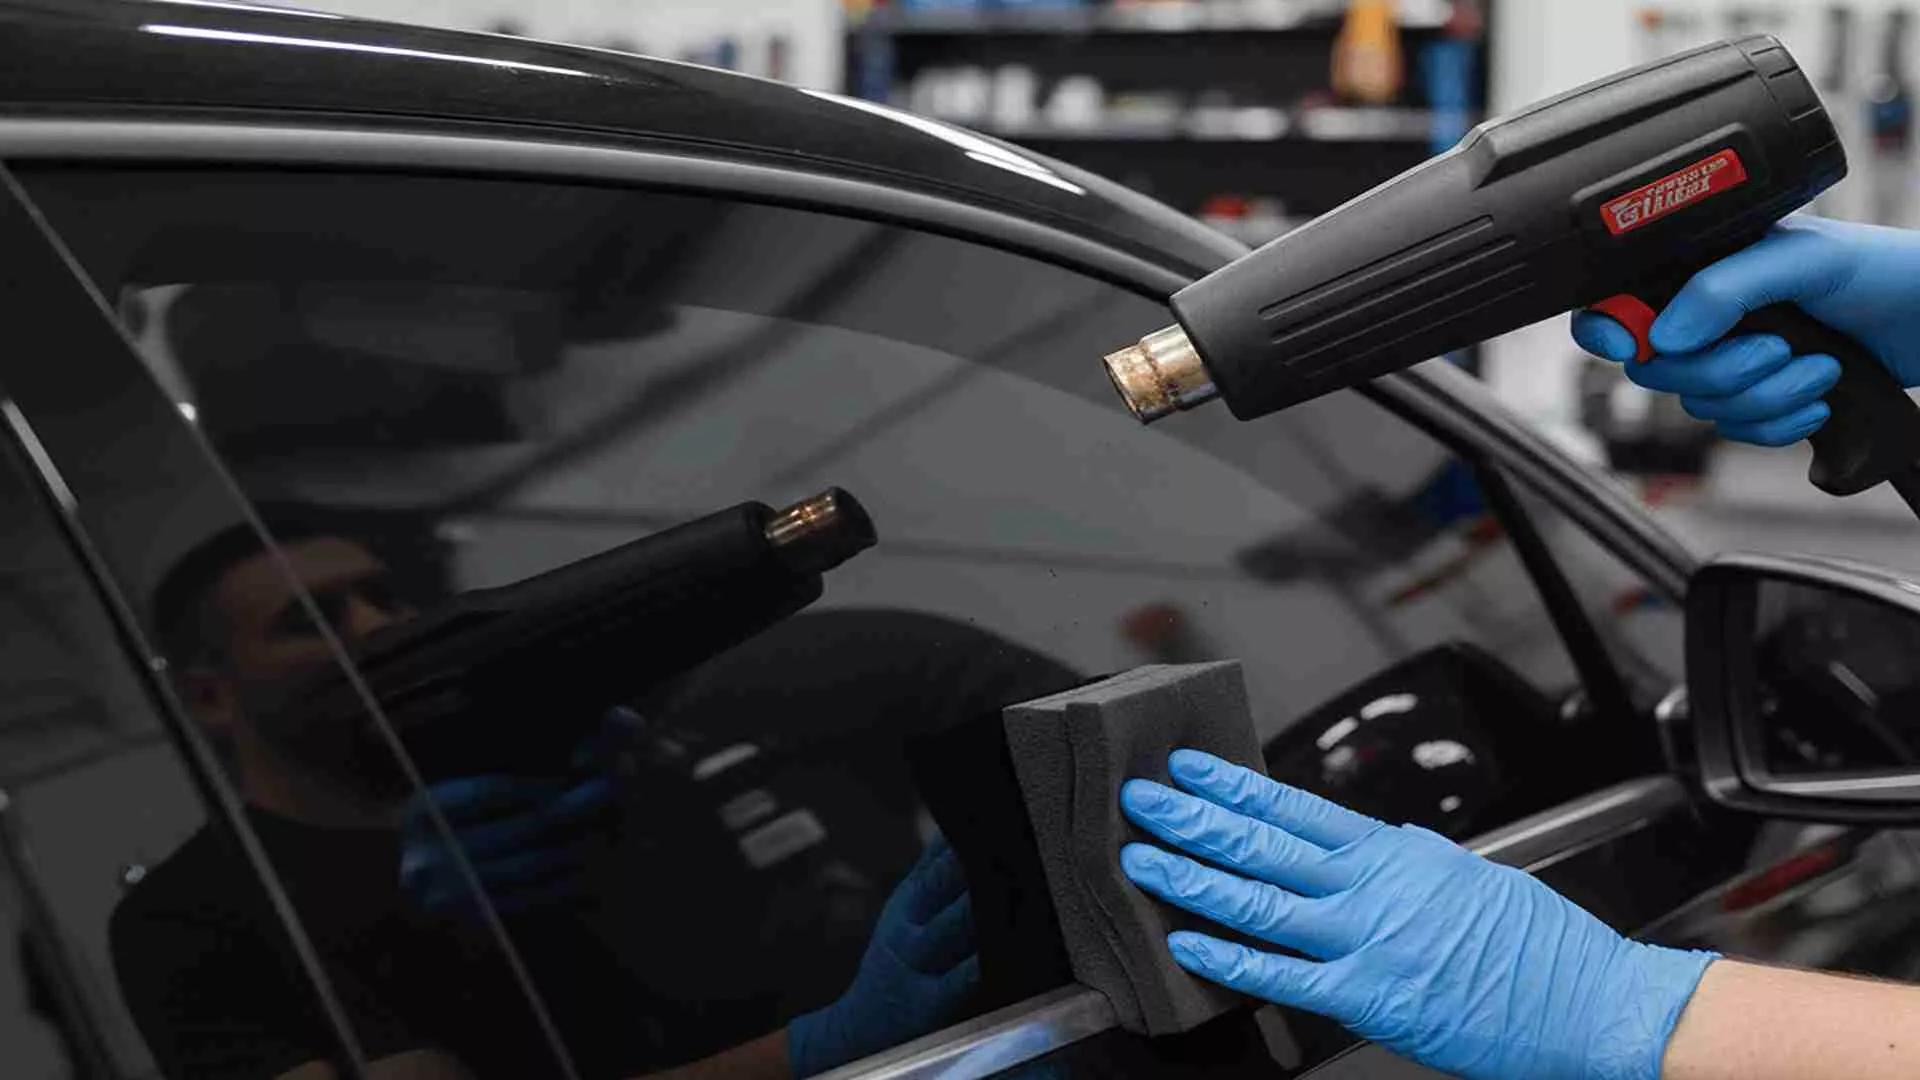
Using a heat gun is optional, but it greatly helps achieve a more professional result. The heat gun makes the film more elastic, helping it adhere better on curved surfaces and smoothing out fine wrinkles.
To avoid overheating:
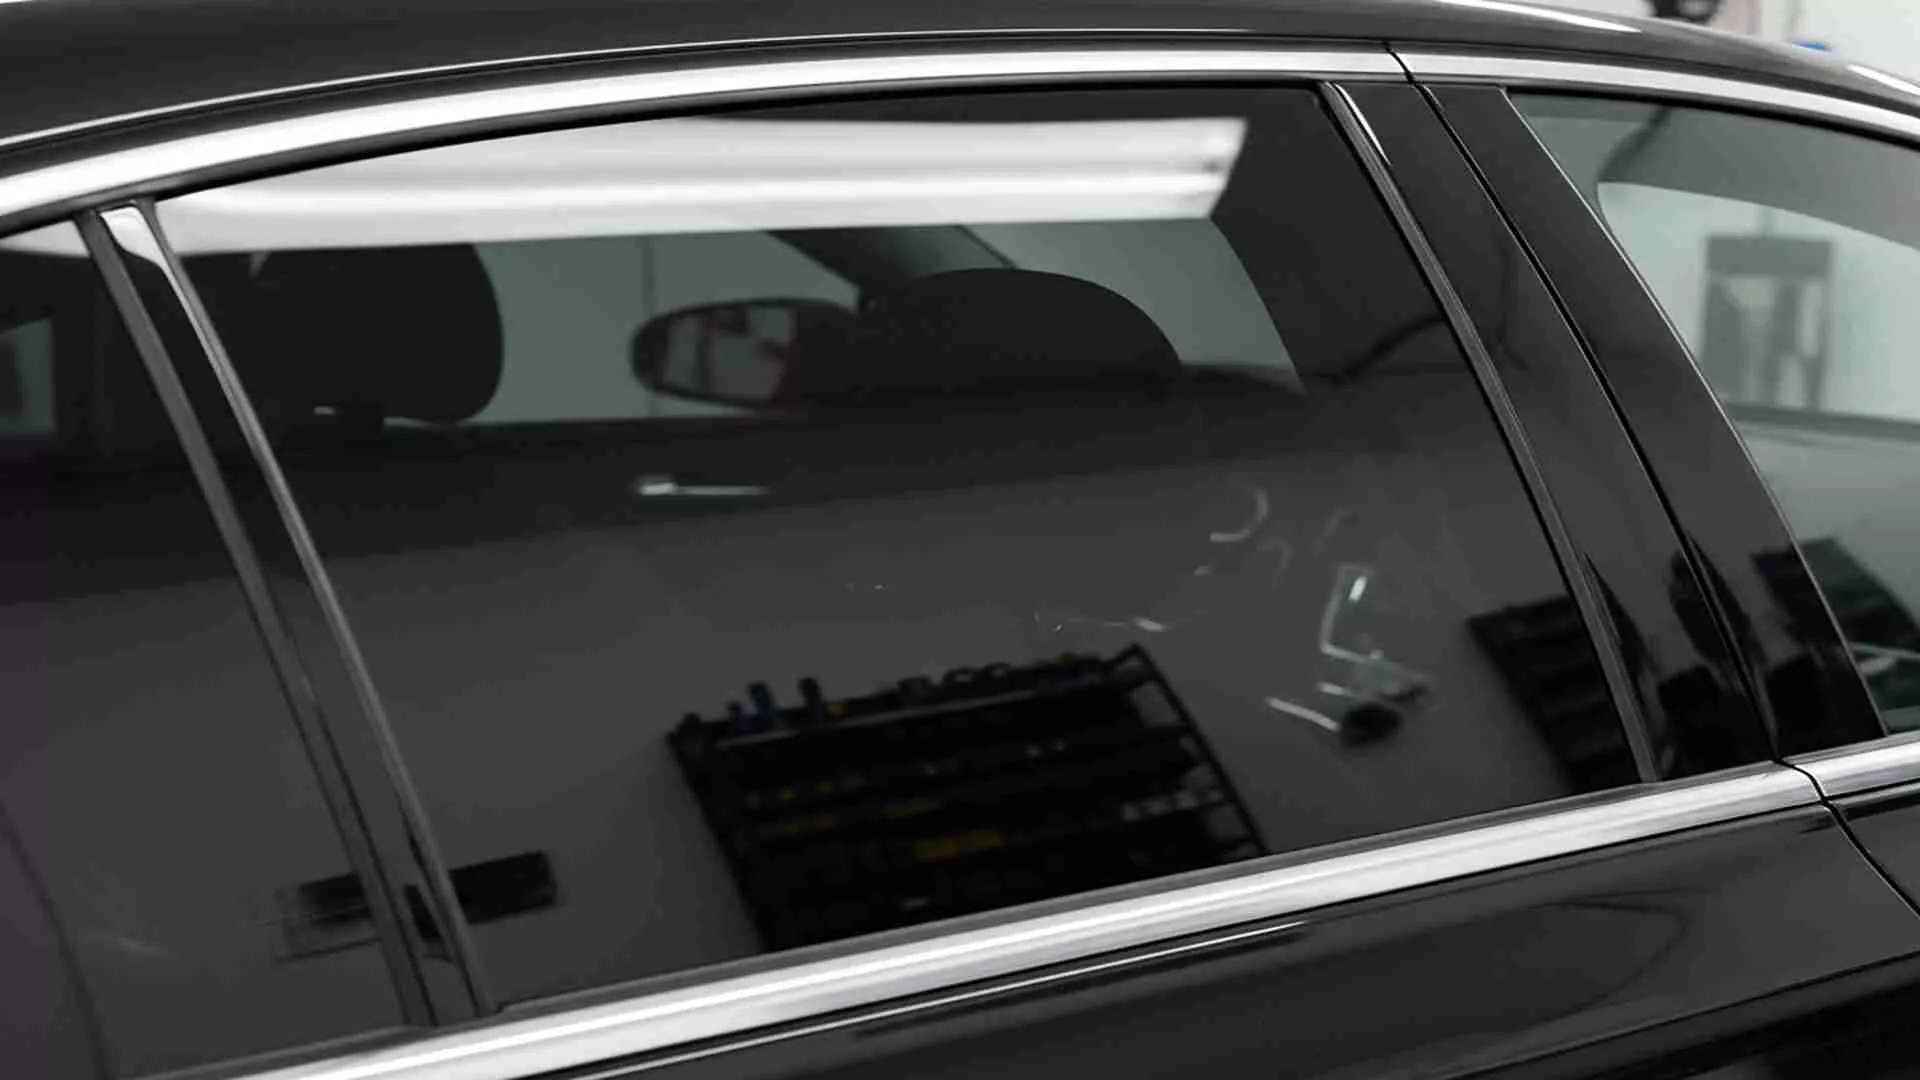
The final step in how to install car window film is letting it dry. The drying process usually takes 24–48 hours depending on temperature and humidity. During this time, do not raise or lower the windows, as movement can cause the film to shift, crease, or peel.
Installing car window film yourself is certainly possible as long as you follow the correct steps. With proper preparation and technique, the results can look neat and function optimally, similar to a professional installation. However, if you prefer a more precise finish or do not want to take risks, seeking help from professionals is always an option.

If you are also planning to buy a used car, JBA Indonesia offers safe, transparent, and flexible car auction services. Through the official JBA auction website, you can access complete information about each available unit, including its condition, document completeness, and auction schedule.
For the latest updates, don’t forget to follow all of JBA’s official social media accounts. You may also contact us via WhatsApp at +62 817-0993-078 if you need further assistance.